How to Test a Starter Solenoid – The Ultimate Guide
If your car is having trouble starting, it may be due to a faulty starter solenoid. The starter solenoid is responsible for sending an electric current to the starter motor, which then starts the engine. A bad starter solenoid can cause your car to click when you turn the key, but it won’t actually start the engine.
In this article, we’ll show you how to test a starter solenoid so you can diagnose and fix the problem.
- Locate the starter solenoid on your car
- This is usually found on or near the starter motor itself
- Once you have located the starter solenoid, disconnect the negative (black) terminal from the battery
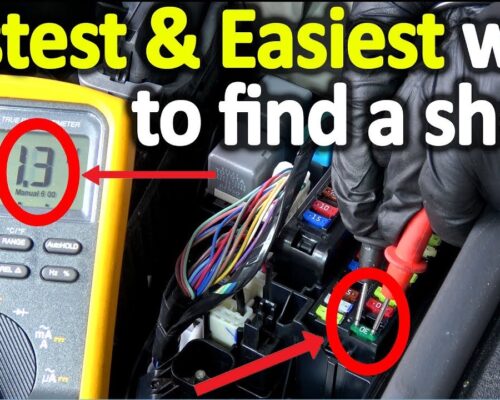
- Using a multimeter, set it to ohms and test for continuity between the positive (red) terminal of the solenoid and the large terminal on the solenoid that is connected to the battery cable
- There should be continuity
- If there is no continuity, then replace the starter solenoid
Ultimate Guide To Engine Starters! (The ONLY Video You'll Need)
How Do I Test a Starter Solenoid With a Multimeter?
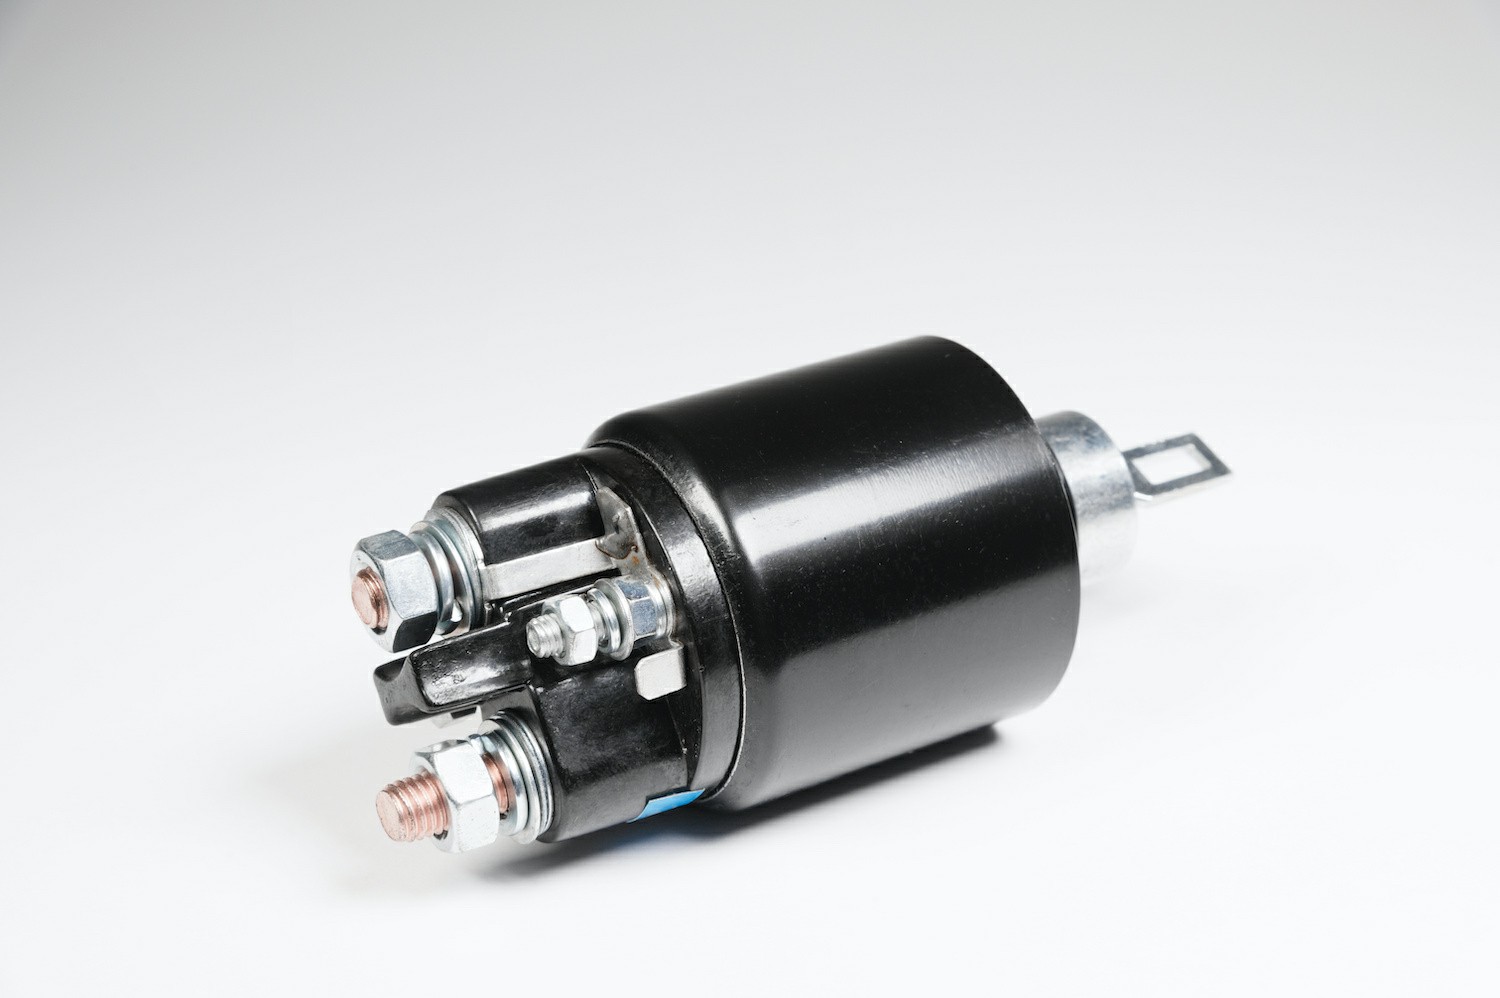
A starter solenoid is an electrically operated switch that activates the starter motor on your car. You can test the solenoid with a multimeter to see if it’s working properly.
First, disconnect the negative battery cable from the terminal.
This will prevent electrical shocks while you’re testing the solenoid. Next, locate the solenoid and remove the nut or bolt that secures it to the bracket. With the solenoid removed, you’ll be able to access the terminals.
Now, set your multimeter to ohms mode and touch one of its leads to each of the terminals on the solenoid. If there’s continuity between them, then the solenoid is working properly. However, if there’s no continuity or if the resistance is infinite, then it means that there’s a problem with the solenoid and it needs to be replaced.
How Do You Test a Starter Solenoid?
When testing a starter solenoid, there are a few things you will need: a voltmeter, a test light, and jumper cables. You will also need to know the correct procedure for testing the solenoid.
1. First, disconnect the negative battery cable.
This will prevent any electrical shock while you are working on the starter solenoid.
2. Next, locate the starter solenoid. It is usually found on or near the starter motor itself.
3. Using your jumper cables, connect one end of the positive cable to the positive terminal on the battery, and then touch the other end of the positive cable to the large terminal on the starter solenoid (this is where The thick red wire from The battery connects). Make sure that The clamps on The cables are tight so that There is good contact between The cable and The terminal.
4. Now connect one end of The negative cable to The negative terminal on The battery, and then touch The other end of The negative cable to any metal surface onThe car (this groundsThe circuit).
Again, make sure thatThe clamps are tight so ThatThere is good contact betweenThe CableAndThe Metal surface.
How Do You Check a Starter Solenoid See If It’S Good?
When trying to diagnose a starter issue, one of the first things you can check is the solenoid. The solenoid is what provides power to the starter motor, so if it’s not working properly, the engine won’t turn over. There are a few ways you can test a starter solenoid to see if it’s bad.
One way is to use a voltmeter. First, disconnect the negative battery cable. Then, remove the Starter Solenoid wire from the S terminal on the starter solenoid and touch it to the B terminal.
With the key in the ON position, you should see around 12 volts on the voltmeter. If not, then the problem is likely with either the battery or ignition switch.
Another way to test a starter solenoid is by manually engaging it.
This can be done by disconnecting the negative battery cable and removing any wires that are attached to the S terminal. Then, take a screwdriver and touch it to both terminals (S and B) at once. If you hear a clicking noise, then that means your solenoid is working fine!
How Many Ohms Should a Starter Solenoid Read?
A starter solenoid is an electromechanical device that is used to close the starter circuit in order to start an engine. The solenoid is usually mounted on the starter motor itself, and when the ignition switch is turned on, it completes the circuit between the battery and the starter motor, which then starts the engine.
The resistance of a starter solenoid should be checked with an ohmmeter before it is installed.
A new or rebuilt solenoid should have a resistance of about 50 ohms. If the resistance is too high, it may not close the circuit properly and the engine will not start. If the resistance is too low, there may be excessive current draw and overheating, which can damage the solenoid or other components in the circuit.

Credit: rxmechanic.com
How to Check Starter Solenoid With Multimeter
If you suspect your starter solenoid is failing, you can check it with a multimeter. First, disconnect the negative battery cable. Then, remove the starter solenoid’s cover to access the terminals.
Using your multimeter, set it to ohms and touch the leads to the small terminal and large terminal on the solenoid. If there is continuity, then the solenoid is good. But if there is no continuity, then the solenoid needs to be replaced.
Test Starter Without Removing It
If your car’s battery is dead, you may be able to jump start it without removing the battery. This can be a real time-saver, especially if the battery is difficult to access. Here’s how to do it:
1. Make sure the car you’re using to jump start your car has a good battery. If not, this technique won’t work and you’ll just end up draining both batteries.
2. Connect the positive (red) jumper cable to the positive terminal of your dead battery.
Then connect the other end of that same cable to the positive terminal of the good battery.
3. Next, connect one end of the negative (black) jumper cable to the negative terminal of the good battery. The other end of that black cable should then be connected to a solid metal ground on your car – not to the negative terminal of your dead battery!
This is very important – if you connect the black cable directly to your dead battery’s negative terminal, you could cause a dangerous spark or even an explosion.
4. Once all four cables are connected properly, start up the car with the good battery and let it run for a few minutes before starting up your car with the dead battery. This will give your dead battery a chance to recharge itself enough so that it can start up on its own once you disconnect everything.
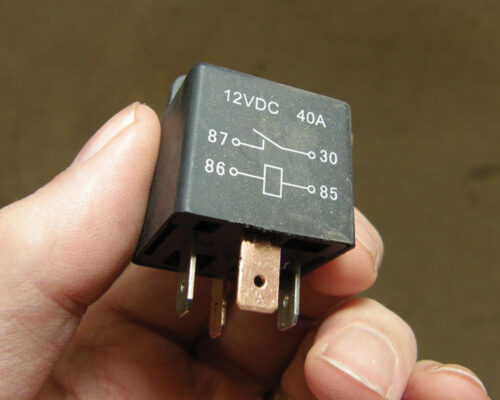
How to Test a Starter Relay
A starter relay is an electrically operated switch that controls the starting of an engine. Most modern vehicles have starter relays. A starter relay typically has three terminals: one for the input from the ignition switch, one for the output to the starter motor, and one for the ground connection.
When you turn the key to the “start” position, current from the battery flows through the primary winding of the ignition coil. This induces a magnetic field in the coil, which in turn creates a high voltage in the secondary winding. This high voltage is sent to the spark plugs, igniting the fuel and air mixture in each cylinder.
At this point, you need a way to keep this process going. The crankshaft turns a gear that meshes with teeth on another gear; this second gear is attached to your car’s flywheel (a heavy disc that helps maintain momentum while your engine is running). The flywheel finally turns a third gear connected to your car’s starter motor.
The starter motor contains a small electric motor that spins a large pinion gear; this pinion engages with teeth on your car’s ring gear, spinning it and starting your engine!
The whole process happens incredibly fast—faster than you can blink—but it doesn’t happen by magic. It’s all thanks to that little electrical switch called a relay.
In order for your car to start, three things must happen:
1) electricity must flow from your battery throughthe primary winding of your ignition coil
2)this will create amagnetic field inthe coil whichwill producesecondary highvoltage inturn senttothe spark plugsignitingthefuelandair mixture eachcylinder
3)youneedwaytokeepprocessgoing-crankshaftturnsgearthatmesheswithteethanothergear-thissecondgearisattachedtocar’sflywheel(heavydiscthathelpsmaintainmomentumwhileengineisrunning)-flywheelturnsthirdgearconnectedtocar’sstartermotor-startermotorcontainssmallelectricmotorthatspinslargepiniongear-thispinionengageswithteethcar’sringgearspinningitstartingyourengine!
How to Test a Starter With a Battery
If your car won’t start, it could be the starter. But how can you test it? Here’s how to test a starter with a battery:
1. Make sure the battery is fully charged. If it’s not, charge it up and try again.
2. Disconnect the negative terminal of the battery.
3. Connect a test light to the positive terminal of the battery and touch the other end of the test light to the small wire on the starter solenoid (the part that connects to the battery).
4. If the test light comes on, that means there’s power going to the starter solenoid and thus, to the starter itself. If not, check your connections and make sure everything is tight before trying again.
How to Test a Solenoid With a Screwdriver
When testing a solenoid with a screwdriver, it is important to first identify which type of solenoid you are working with. There are two main types of solenoids: AC and DC. AC solenoids will have three terminals, while DC solenoids will have only two.
Once you have identified the type of solenoid you are working with, you can begin the testing process. If you are working with an AC solenoid, start by disconnecting the negative terminal from the battery. Next, touch the positive terminal of the battery to one of the remaining terminals on the solenoid.
If the solenoid activates, then it is functioning properly.
If you are working with a DC solenoid, the testing process is slightly different. Begin by disconnecting both terminals from the battery.
Next, touch one terminal of the battery to one of the terminals on thesoloenid . Ifthe soildoenid activtes ,it is functioning properly .
How to Test a Solenoid Without a Multimeter
A solenoid is an electromechanical device that converts electrical energy into linear motion. It consists of a coil of wire that creates a magnetic field when an electric current is passed through it. The solenoid can be used to open or close a valve, or to move an object in a linear path.
To test a solenoid without a multimeter, you will need:
– A power source (battery or DC power supply)
– A switch (toggle or pushbutton)
– An LED (light emitting diode)
1. Connect the power source to the solenoid’s terminals. Make sure the polarity is correct; most solenoids are marked with “+” and “-” symbols on their terminals.
2. Connect the switch between the positive terminal of the power source and one end of the solenoid coil.
3. Connect the other end of the coil to the negative terminal of the power source. This completes the circuit through the coil and allows current to flow when the switch is closed.
4. Finally, connect one lead ofthe LEDtothe remainingopenendofthesolenoidcoil,andconnecttheotherleadoftheLEDtothepositiveterminalofthepowersource.(IfyouareusingaBatteryasthepowersource,connectthenegative(or”ground”)sideoftheLEDtothenegative(or”ground”)sideofthebattery.)ThismakesacompletepathforthecurrenttocirclethroughwheneverythingisconnectedproperlyandtheSwitchispressed.
“Closedcircuit”meanscurrentcanflowfrompoweringsourceoutthroughtheswitchintothesolenoidcoilandsolenoid—thenbackintopoweringsourceviatheLEDanditscomplementaryresistor—thuslightinguptheLED! If everything is hooked up correctly and you press/flick your Switch, your Circuit should be complete and your LED should light up!
How to Test a Starter Solenoid on a Lawn Tractor
If your lawn tractor won’t start, one possible culprit is a faulty starter solenoid. Luckily, testing the starter solenoid on your lawn tractor is a relatively easy task that can be done in just a few minutes.
To test the starter solenoid on your lawn tractor, first locate the solenoid.
It will be mounted on the side of the engine near the battery. Once you’ve located the solenoid, remove the cover so you can access the terminals.
Next, using a voltmeter, check for continuity between the large terminal (the one that is connected to the battery) and the small terminal (the one that goes to the starter).
If there is continuity, then the starter solenoid is good and you can move on to troubleshooting other potential issues. If there is no continuity, then you’ll need to replace the starter solenoid.
Conclusion
If your car’s starter solenoid is defective, it may be difficult or even impossible to start your engine. In this article, we’ll show you how to test a starter solenoid to see if it’s working properly. We’ll also give you some tips on what to do if your starter solenoid is not working.


